Are you looking to implement a private messaging and live chat system in your WordPress website?
Well, whether you are running an eCommerce store or a service website, you have to deal with customer support queries. But sadly, the only way of communication in WordPress is via the comments section that is only useful for getting feedback about your article.
The private messaging system offers effective communication media between two persons on the WordPress website. And the live chat feature brings the flexibility of the website that helps you to connect with the customers and create good client relationships.
In this article, we will describe how you can implement both a private messaging system and a live chat system in your WordPress website using a single plugin.
So, let’s get started!
How To Add A Private Messaging And Live Chat System In WordPress?
To run a reliable website it is important to connect with your visitors and other users. It happens when you are answering questions, communicating with your customers, speaking to other users, solving their problems, and much more.
Private messaging and live chat systems provide all these functions for your website. This system not only enhances user engagement but also improves the user experience of your site.
To get all these features from one plugin, we will suggest you use WordPress Private Message plugin as it’s a great choice to implement a front-end messaging system for your users.
It is a premium plugin but you can get it free if you are already using WordPress Download Manager’s special pack or eCommerce Pack. This plugin also assists you to control your message limit for different user roles.
Moreover, you can read our article about this plugin to get more familiar with it’s amazing features.
Now, here we will describe below about how you can implement this plugin on your site to get theses features.
Let’s begin!
Step 1: At first, you have to install the WordPress Download Manager plugin ( free or pro ) as all add-ons here require the download manager ( free or pro ). After installing the WordPress download manager, purchase the WordPress Private Message add-on. After purchasing you can download it from your Premium Download Area. Next, you need to upload the plugin on your admin dashboard and activate it.
Step 2: After activating the plugin, configure this plugin by going ‘Menu > Messages > Settings’.
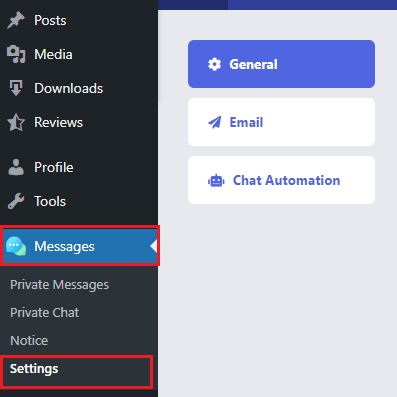
Step 3: In the ‘Settings’ page, there are three sections . These are: General, Email and Chat Automation. You will get tons of setting option under every settings section.
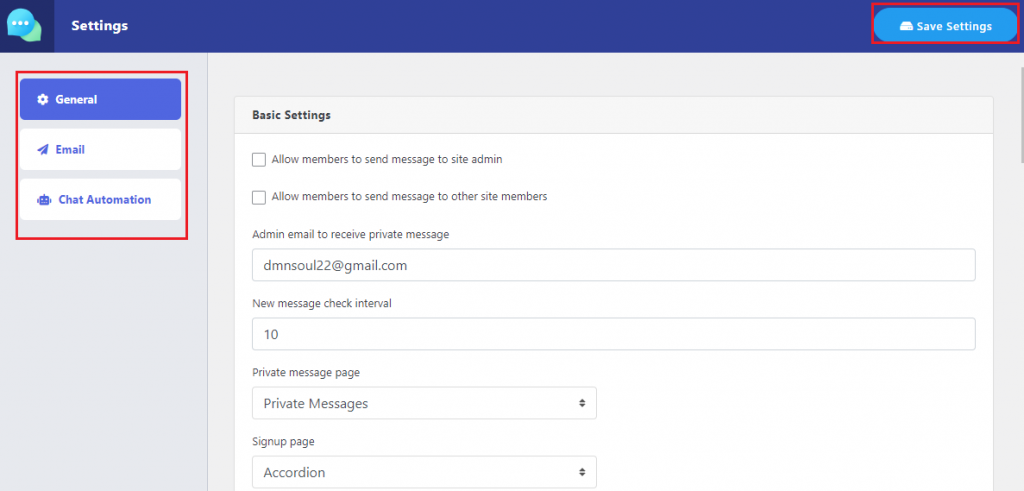
- You will allow members to send messages to site owners or other site members by clicking the checkbox.
- You can set the email to receive the private message
- Also, you can set the time interval for getting new message
- Further, you can limit the message for different user roles according to your needs.
- You can also enable or disable the live chat feature through the checkbox and choose the chat box style depending on your needs.
Step 4: After setting up the options, you need to click on the save settings tab to save all the changes you have done.
Adding the Private Messaging And Live Chat System on a Single Page
If you want to implement the private message system on a particular page then you can do this by going to your ‘Admin Dashboard > Pages > Add New’ and use the shortcode [private_message] on that page. With this shortcode, you will show the private message option only for that page.
Further, you can also set the live chat option for a separate page with using a short code [live_chat]
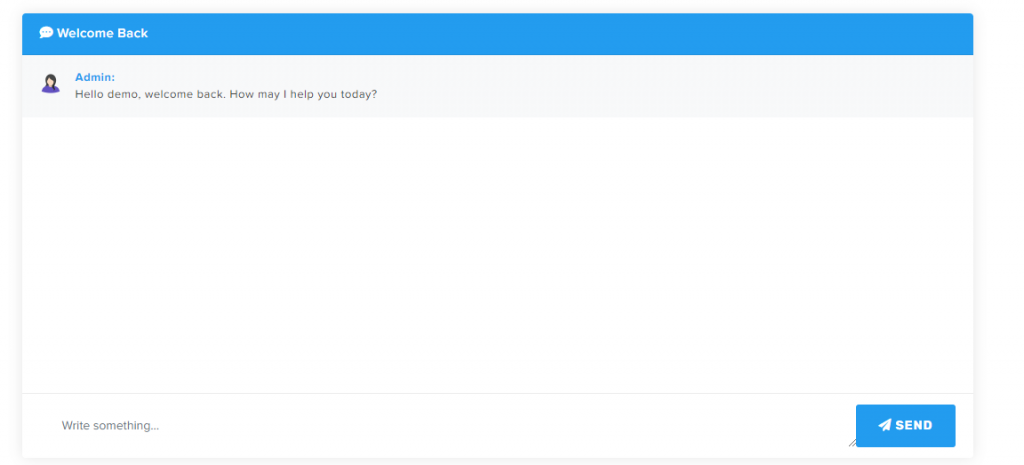
Also, if you want to add live chat button, use the shortcode [live_chat_button]. It will open the live chat window in a popup whenever you click that button.
Let’s check four other shortcodes you can use.
- Shortcode on post or page to show a button to contact the author:
[pm_to_author label="PM to Author" title="Contact Author" color="primary"]
- Add the following shortcode to embed the form on the page:
[pm_to_author_embed label="PM to Author" title="Contact Author" color="primary"]
- Shortcode on post or page to show a button to contact a specific user:
[pm_to_user id=USER_ID label="PM to User" title="Contact User" color="primary"]
- Add the following shortcode to embed the form on the page:
[pm_to_user_embed id=USER_ID label="PM to User" title="Contact User" color="primary"]
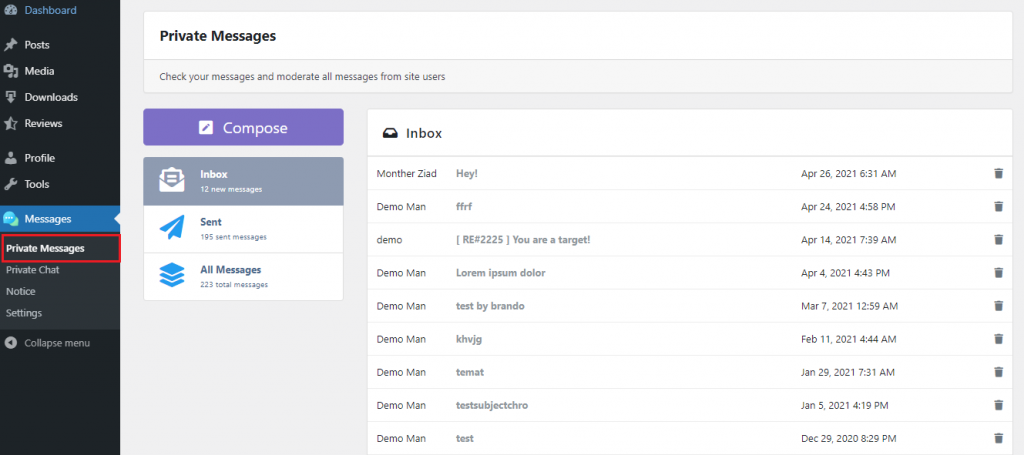
Private message and Private Chat With Your Users From Your Admin Dashboard
Admin can also see the private message and send messages from his/her admin dashboard. To see the private message, you need to go to ‘Messages > Private Messages’.
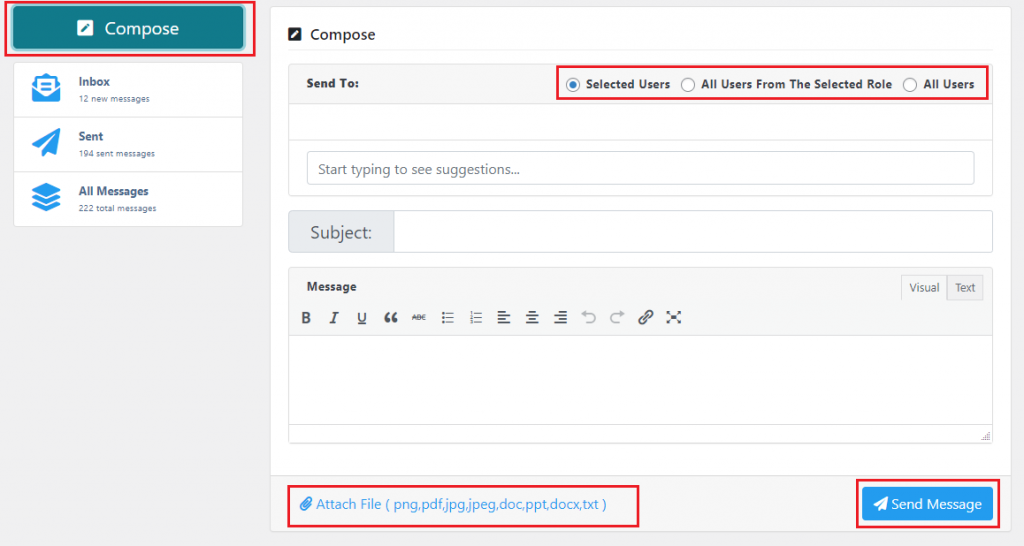
To send messages to users click on ‘Compose’. You can select users you want to send the message, attach any file with the message and send the message by clicking ‘Send Message’.
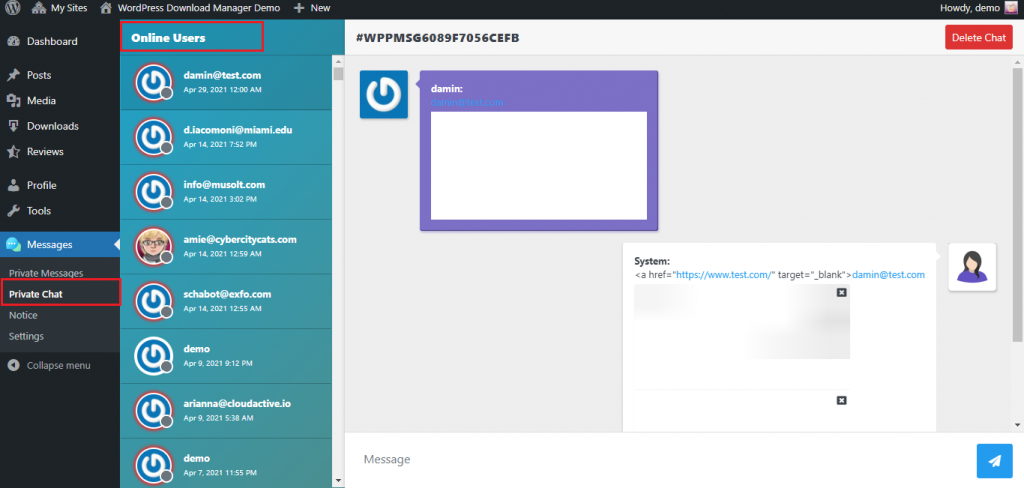
To check the private chat and online users navigate to ‘Messages > Private Chat’. As you can see on the left side of the ‘Private Chat’ page the list of the online users is showing.
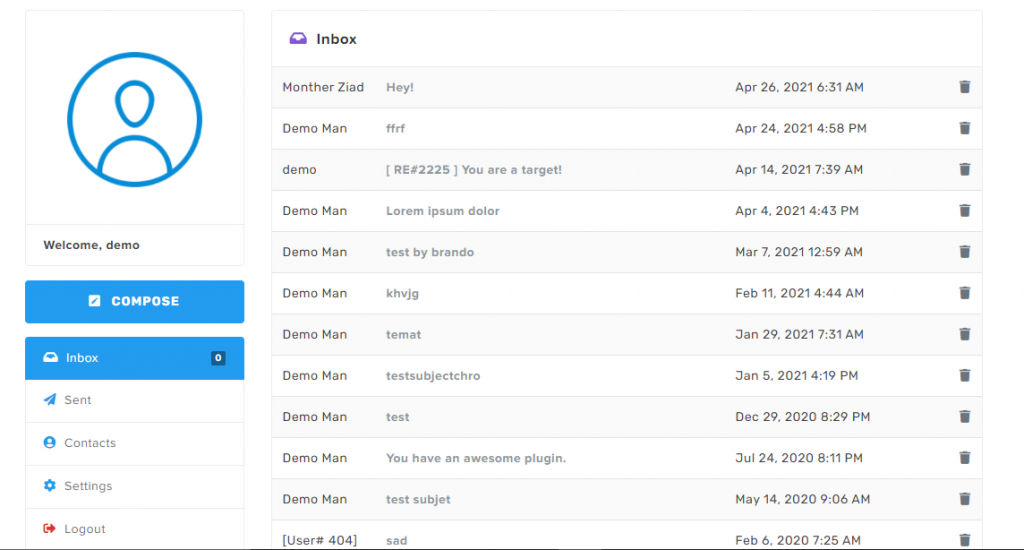
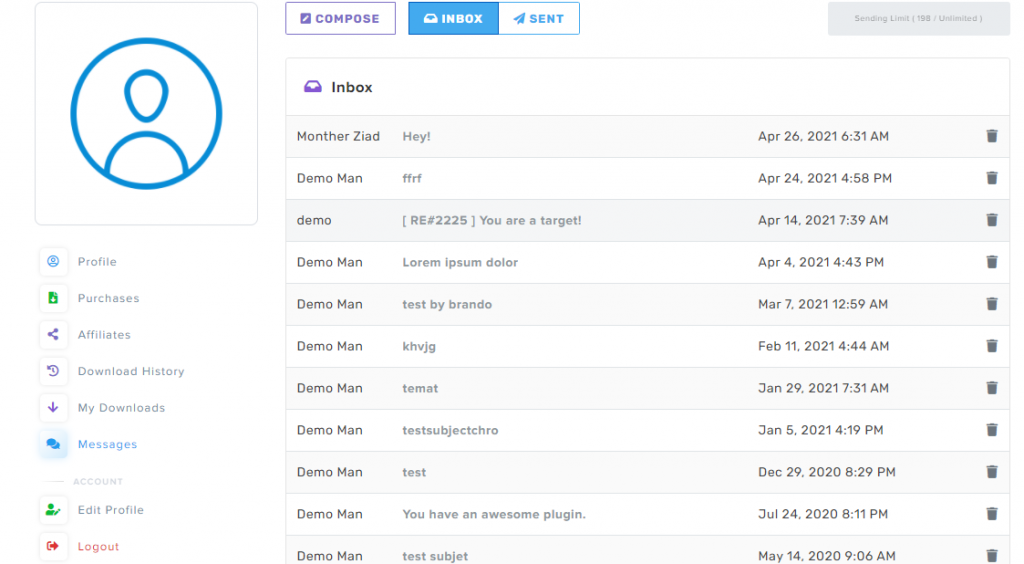
Use The Private Message Option On The Frontend Dashboard
Apart from the admin dashboard, Your users can control the private messaging features directly from the front-end of your website. It will look like below:
That’s all. Now enjoy the private message and live chat option to your website.
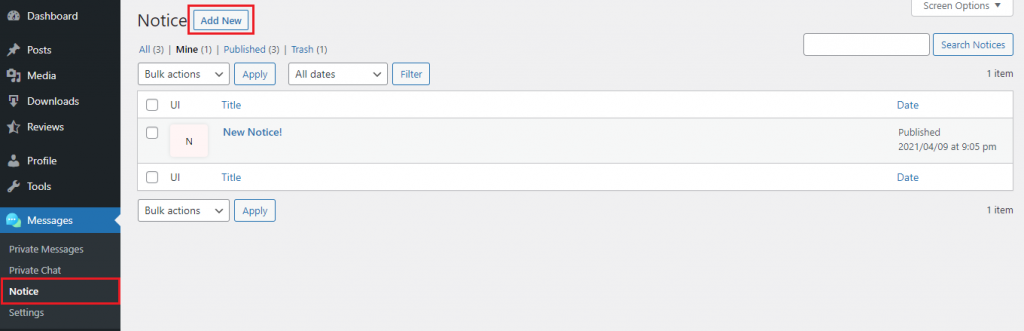
Publishing Notice for your User with Private Messages Add-on:
Not only private message and live chat, Private Messages add-on provide you feature to publish notice for your user. To add a notice, go to ‘Messages > Notice > Add New’.
On the following page you will get a text area for writing the notice, UI Settings option, action button customization options, start date and ending date of the notice.
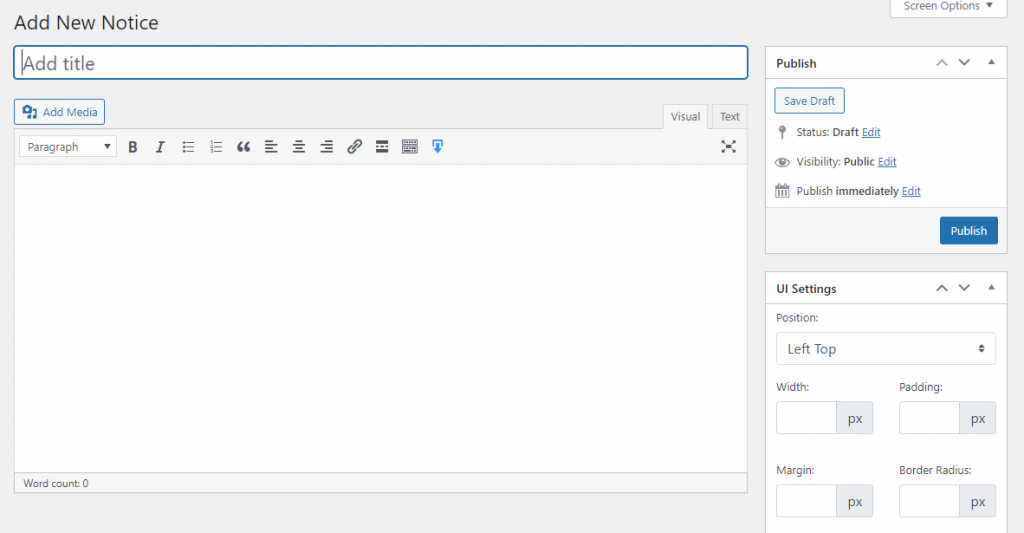
Lastly, publish the notice once all settings are done!
Conclusion
In summary, Staying attached to your customers is the key to creating a positive engagement. The WordPress Private Message plugin will help you to draw new visitors and also increase your conversion by maintaining a strong audience perfectly. Plus, the combination of a private messaging and live chat functionality of this plugin will take your business to the next level.
Hopefully, this article will help you learn how to easily add a private messaging and live chat system in WordPress. To learn about WordPress features, you may check our WordPress Tips and How-Tos.
If this article will help you, please subscribe to our YouTube channel to get more tutorials related to WordPress. Also, you can join our Facebook page to update yourself with more tips, solutions, offers, and so on.
We appreciate further comments, support or suggestions!