WordPress Download Manager has integrated .htaccess rules to protect direct http access to download directory. But, when you are using nginx, you need to following the following steps to proect your directory from http access:
Step 1: Create User and Password
When using Apache, you can use the “htpasswd” utility. If you have that utility installed on your system, you can use this command to generate the password file:
# htpasswd -c /path/to/file/.htpasswd username
When running this command, you will be asked to set a password for the above user and after that, the .htpasswd file will be created in the specified directory.
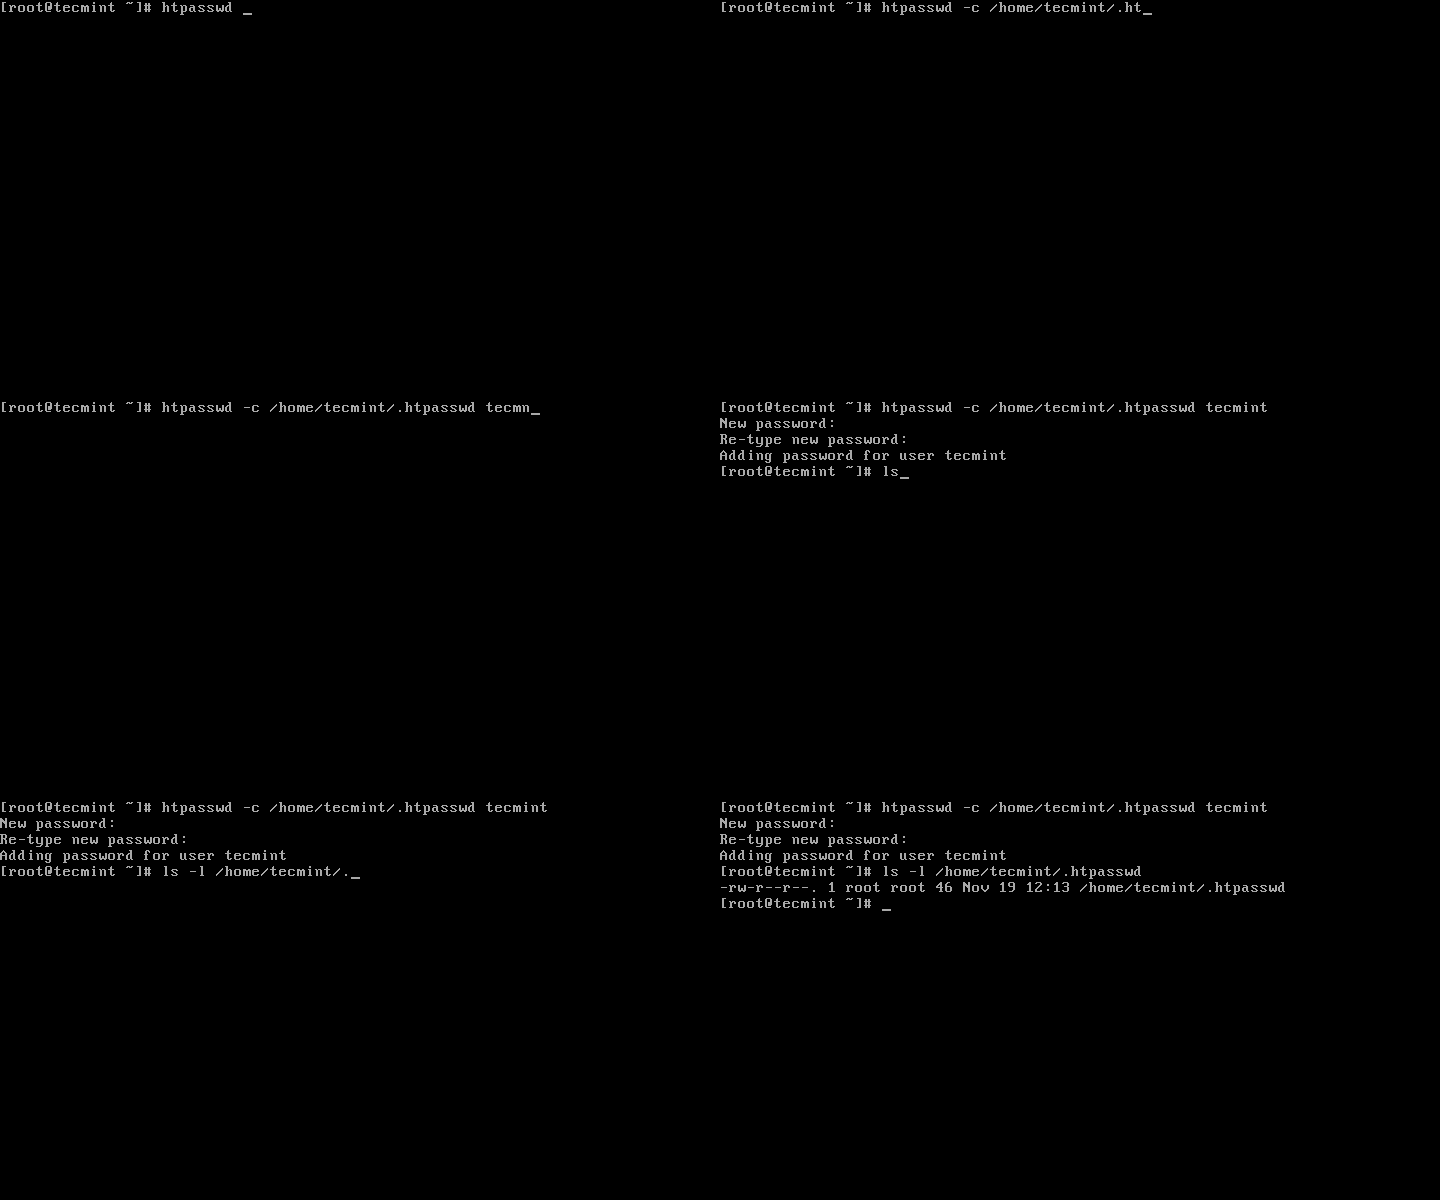
htpasswd: Create Nginx User Password File
2. If you don’t have that tool installed, you can create the .htpasswd file manually. The file should have the following syntax:
username:encrypted-password:comment
The username that you will use depends on you, choose whatever you like.
The more important part is the way that you will generate the password for that user.
Step 2: Generate Encrypted Password
3. To generate the password, use Perl’s integrated “crypt” function.
Here is an example of that command:
# perl -le 'print crypt("your-password", "salt-hash")'
A real-life example:
# perl -le 'print crypt("#12Dfsaa$fa", "1xzcq")'
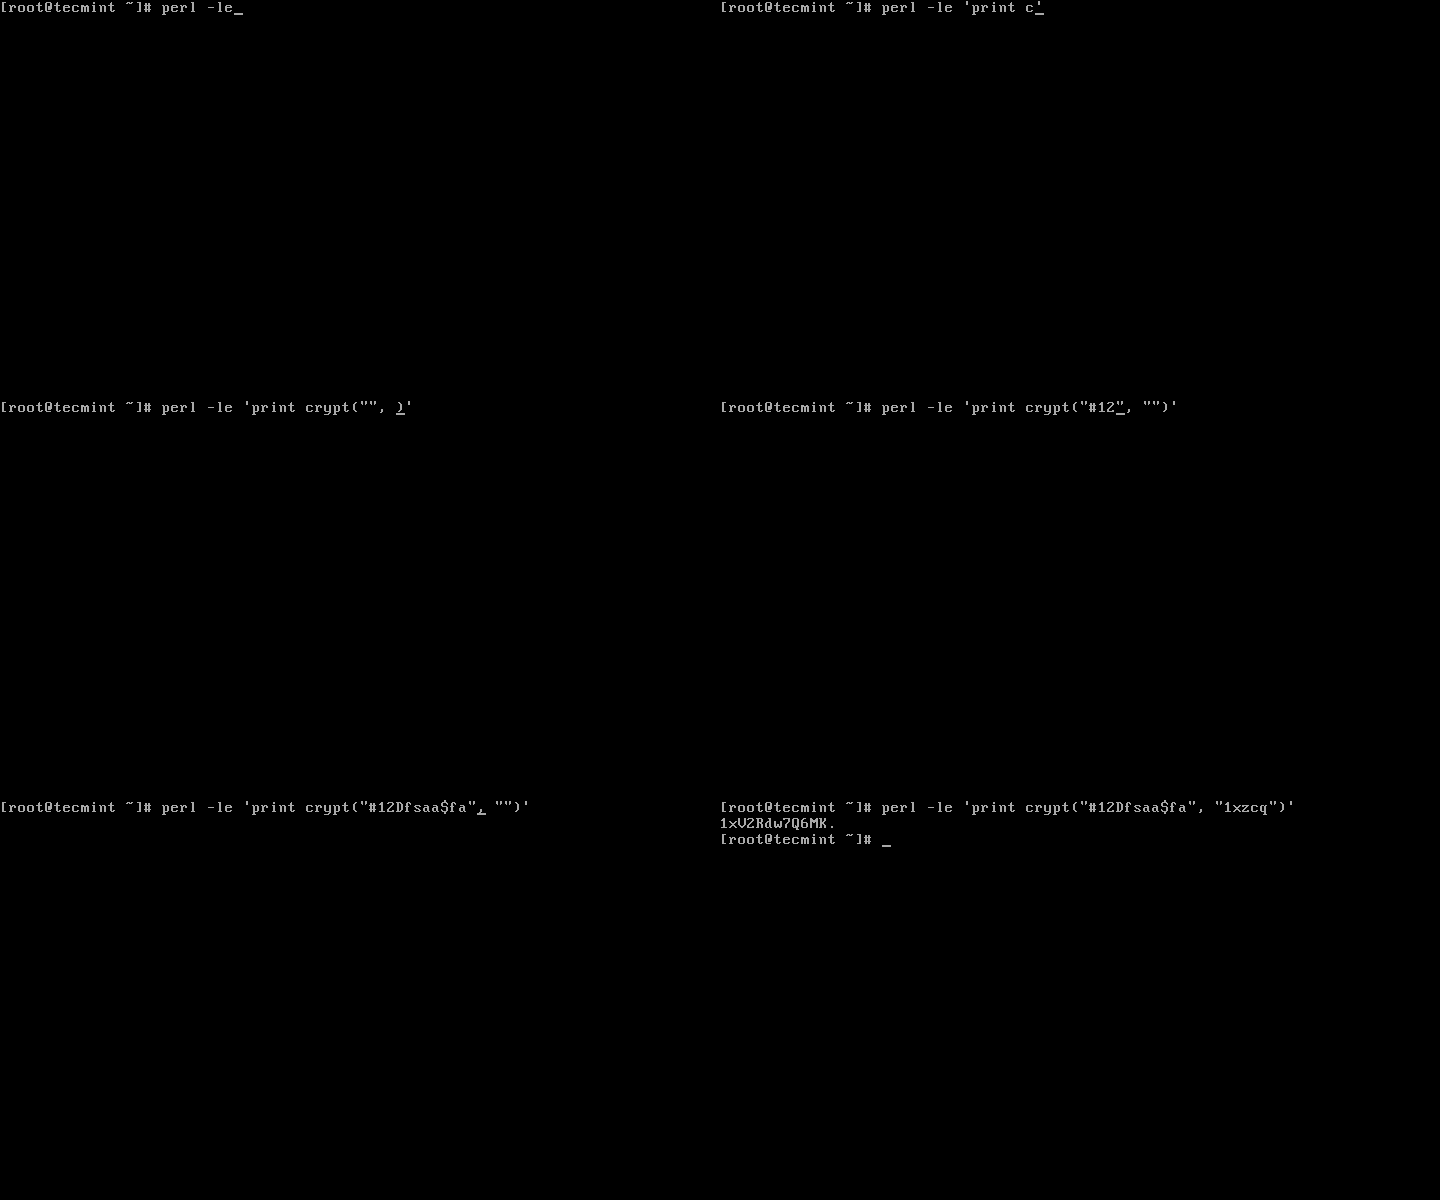
Generate Encrypted Password
Now open a file and put your username and the generated password in a string, separated with a colon.
Here is how:
# vi /home/tecmint/.htpasswd
Put your username and password. In my case it looks like this:
tecmint:1xV2Rdw7Q6MK.
Save the file by hitting “Esc” followed by “:wq”.
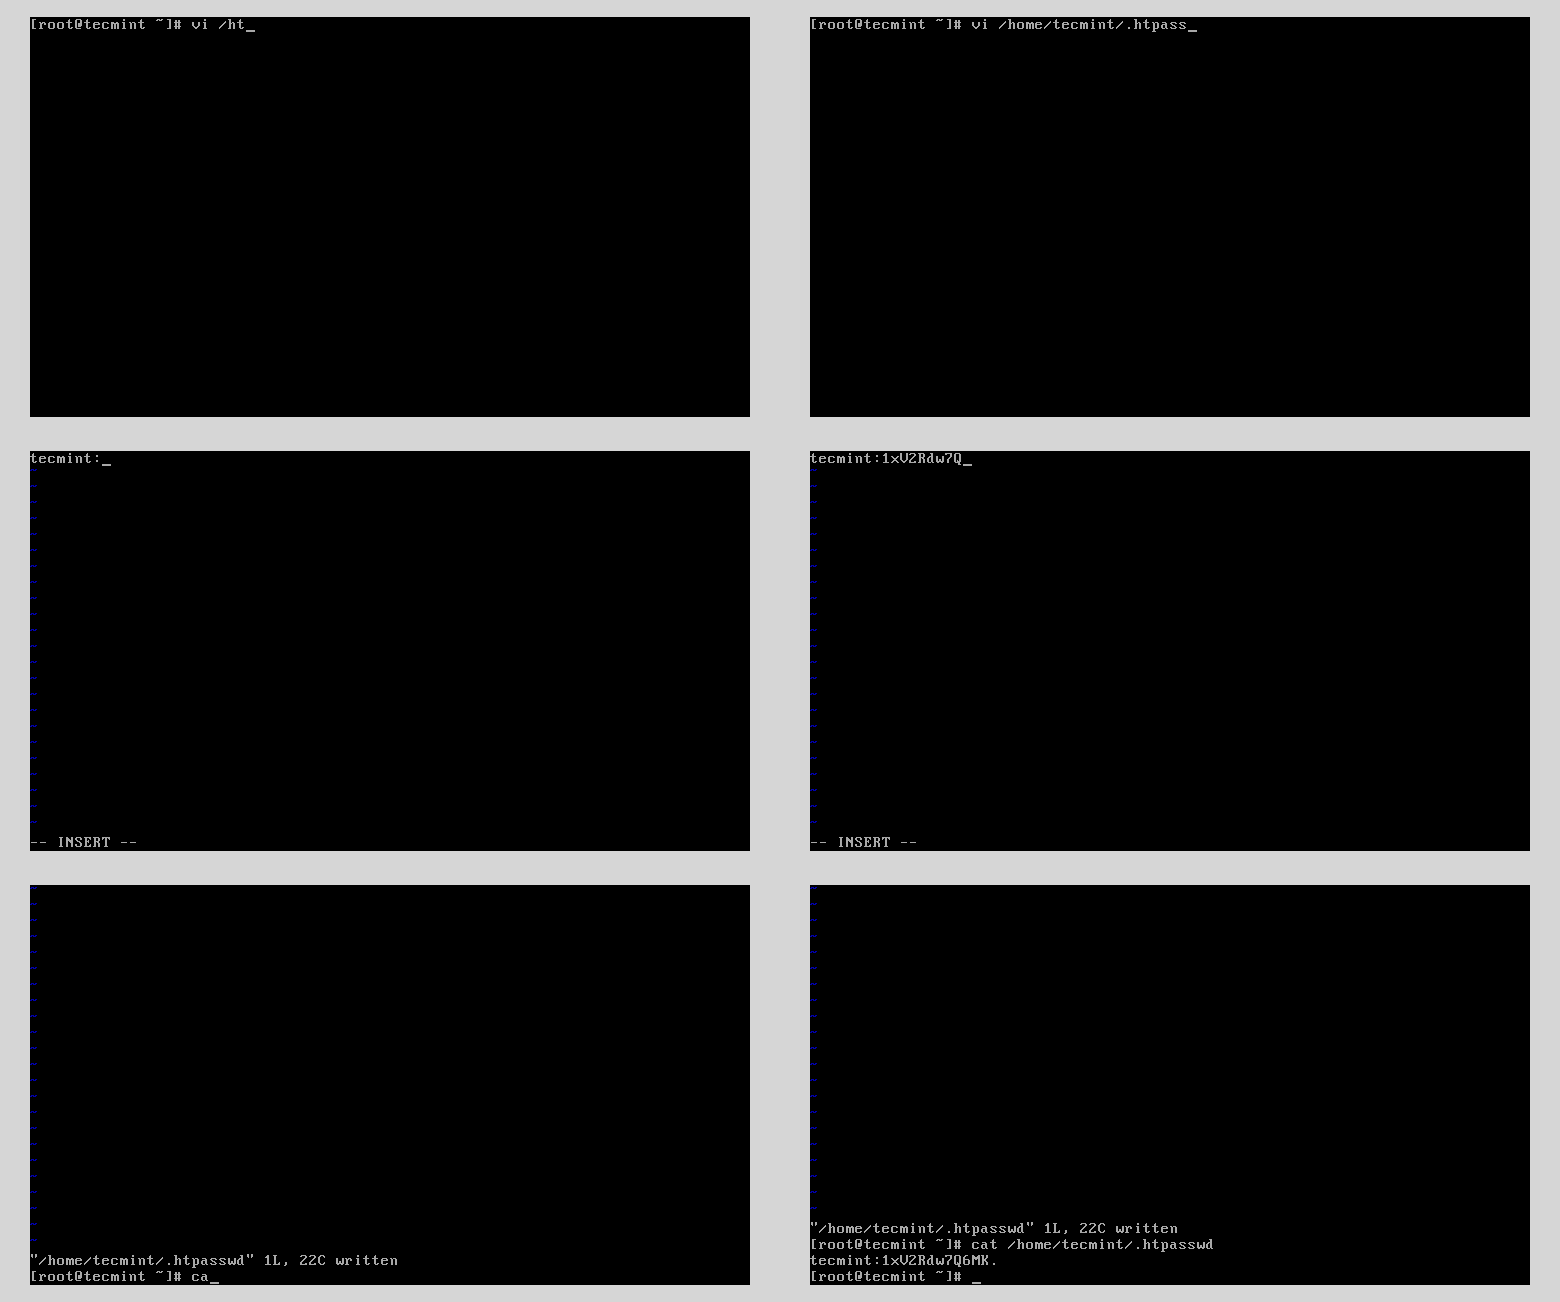
Add Encrypted Password to htpasswd
Step 3: Update Nginx Configuration
4. Now open and edit the Nginx configuration file associated with the site you are working on. In our case, we will use the default file at:
# vi /etc/nginx/conf.d/default.conf       [For CentOS based systems]
OR
# vi /etc/nginx/nginx.conf                [For CentOS based systems]


# vi /etc/nginx/sites-enabled/default     [For Debian based systems]
In our example, we will password protect the directory root for nginx, which is: /usr/share/nginx/html.
5. Now add the following two lines section under the path you wish to protect.
auth_basic "Administrator Login";
auth_basic_user_file /home/tecmint/.htpasswd;
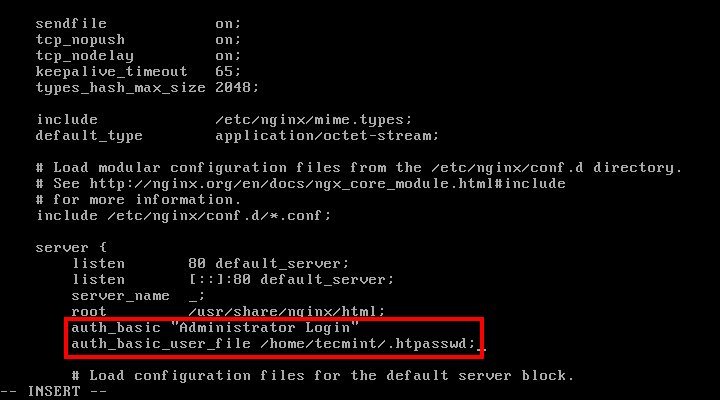
Password Protect Nginx Directory
Now save the file and restart Nginx with:
# systemctl restart nginx
OR
# service nginx restart
6. Now copy/paste that IP address in your browser and you should be asked for password:
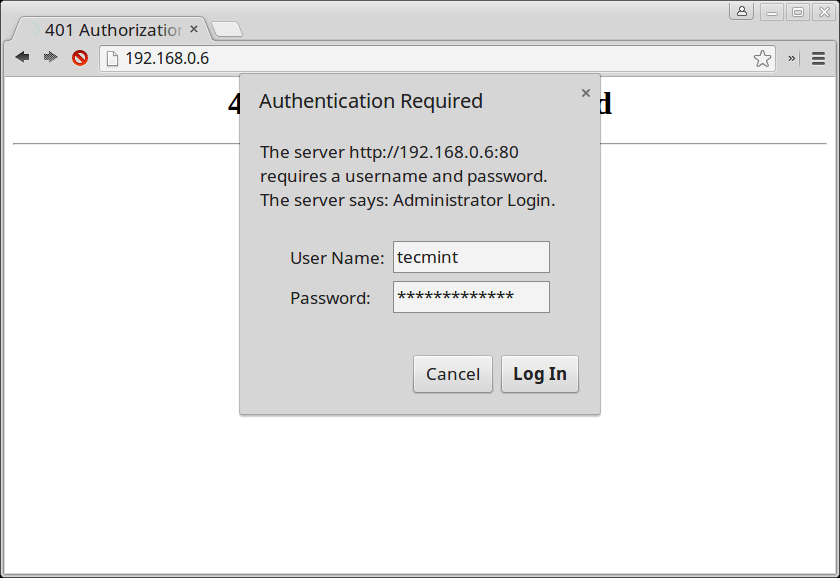
Nginx Password Protect Login
That’s it! Your main web directory is now protected. When you want to remove the password protection on the site, simply remove the two lines that you just added to .htpasswd file or use the following command to remove the added user from a password file.
# htpasswd -D /path/to/file/.htpasswd username
