First of all, WordPress Download Manager actually has nothing to do with this. Depending on the web hosting company you choose and the package you select, each of you will see a maximum file upload limit. For some, it is as low as 2MB which is certainly not enough for media files like (audio/video). Most images are under 2MB, so it is fine for just images. In this post, we will show you how to increase the maximum file upload size in WordPress.
Ask Your Server/Hosting Company Support For Help
Most of the users don’t want to work with server settings or coding, so the easiest solution for them is to ask Server/Hosting company support for help. Many hosting companies have chat support that can help you out in these situations. Increasing an upload limit is a trivial task for a tech support person, they should be able to do it within a minute.
Theme Functions File
There are cases where we have seen that just by adding the following code in the theme function’s file, you can increase the upload size:
@ini_set( 'upload_max_size' , '128M' );
@ini_set( 'post_max_size', '130M');
@ini_set( 'max_execution_time', '300' );
But many server/hosting company keeps the `ini_set` function disabled, in that case, the solution will not work.
Create or Edit an existing PHP.INI file
In most cases, if you are on a shared host, you will not see a php.ini file in your directory. If you do not see one, then create a file called php.ini and upload it to the root folder. In that file add the following code:
upload_max_filesize = 128M
post_max_size = 130M
max_execution_time = 300
htaccess Method
Due to restrictions on servers, you may not be able to use php.ini files, which is why the .htaccess method works more consistently. Some people have tried using the htaccess method where by modifying the .htaccess file in the root directory, you can increase the maximum upload size in WordPress. Open or create the .htaccess file in the root folder and add the following code:
php_value upload_max_filesize 128M
php_value post_max_size 130M
php_value memory_limit 135M
Nginx Setup
Nginx is an alternative web server software to good old Apache. If you are running your website on Nginx you’ll need to change your php.ini file as well as your Nginx config.
We’ve already discussed how to modify a php.ini file so all we need is the code for the Nginx config:
http {
        client_max_body_size 130m;
}
You’ll have a number of settings within the HTTP group. Only change the client_max_body_size parameter to make sure you don’t modify anything unintentionally.
Finally, you’ll need to reload some services to make sure the changes are applied. Issue the following commands and you should be all done:
service php5-fpm restart
service nginx reload
Conclusion
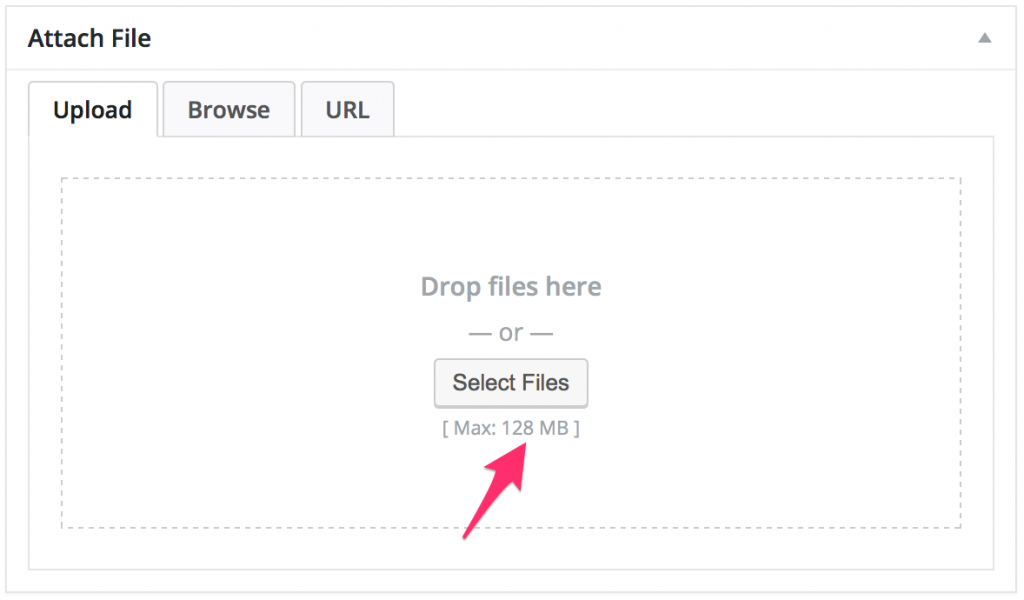
Checking if this works is pretty easy. I like to go to the Admin Menu >> Downloads >> Add New. You should see a little message that says: [ Max: 128 MB ] as marked in the image at the top of the article. The numeric value should change as you modify the settings. If that doesn’t, I recommend you, carefully undo any changes anywhere you did and follow the first suggestion “Ask Your Server/Hosting Company Support For Help”.


3 Comments
Weird that the best and preferred solution is mentioned in a small green box at the end of the article, after the conclusion. You should REALLY change this.
I want to sell a digital product but cannot figure out how to do that with this plug in. I have a word press blog.
After installing and activating WordPress Download Manager, you will have to install Premium Packages addon:
http://www.wpdownloadmanager.com/download/premium-package-wordpress-digital-store-solution/, you can install that addon in one click from Admin Menu >> Downloads >> Add-ons page