Adding Google Maps to your WordPress website is an excellent way to increase your credibility and create an interactive experience for your visitors. It can also help improve your site’s search engine visibility to attract your visitors. Many customers use Google to find businesses near them so displaying your business address on maps is much better than just spelling out your address. When people find trustworthy brands near them, they always become loyal to them.
In this article, we will discuss three different methods to add Google Maps to your WordPress website – using a plugin, manual HTML embed, and via widget. Let’s get started!
Why Add Google Maps in WordPress?
The first plus point of adding Google Maps is, they’re interactive. Adding Google Maps to your WordPress website makes it easy for users to quickly locate your physical stores, restaurants, or retail outlets. This helps you attract more customers and generate more business.
Google Maps helps you to engage more with your customers and visitors. When any potential clients look for your location, the map shows other contact details such as our company address, phone number, website, directions, reviews, and review stars. So, you get more chances of impressing your potential clients with Google Maps. Moreover, when people spend more time on your site, that also improves your search rankings. When you get all of these benefits without spending a single penny, no one should miss the chance.
How to Add Google Maps on your WordPress Website?
You can add Google Maps to your website in various ways. In this section we will talk about three of them, one is a manual method, one is by using a plugin and another one is via a widget
Manually:
Many people want to use minimal plugins for their website to keep their site optimized. Adding Google Maps to your site manually is easier than using any other method and takes only a few minutes. So, now we will show how to add Google Maps to WordPress without a plugin.
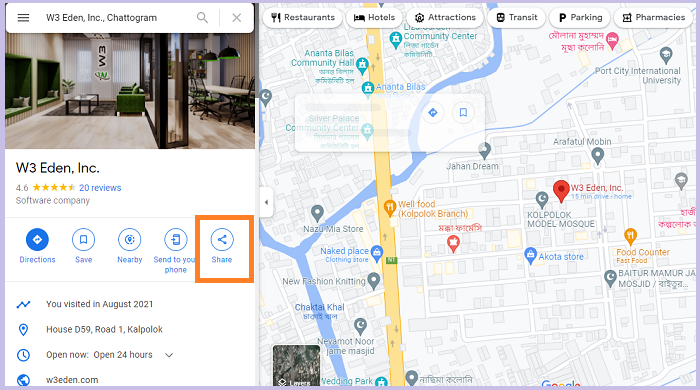
To get started with this method, go to the Google Maps website and type in any street address in the search area.
Once you find the location you’re looking for, click on the “Share” icon.
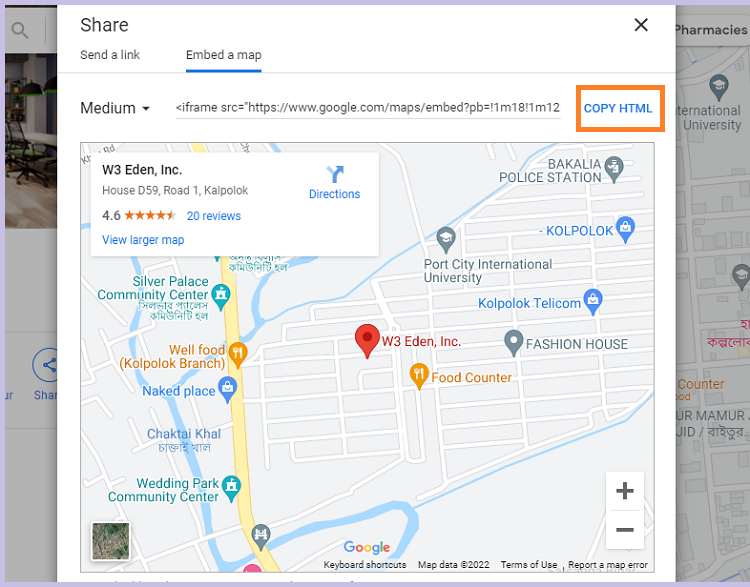
A new pop-up window will appear, allowing you to share the map. Choose “Embed a Map” from the drop-down menu. After that simply copy the HTML code for Google Maps.
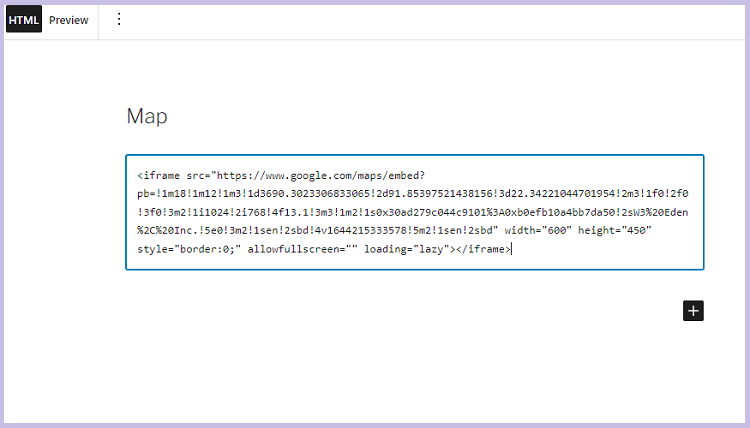
Then open the page where you want to embed the Google map. Inside the block editor, click the plus (+) icon and then you need to add a “Custom HTML” block.
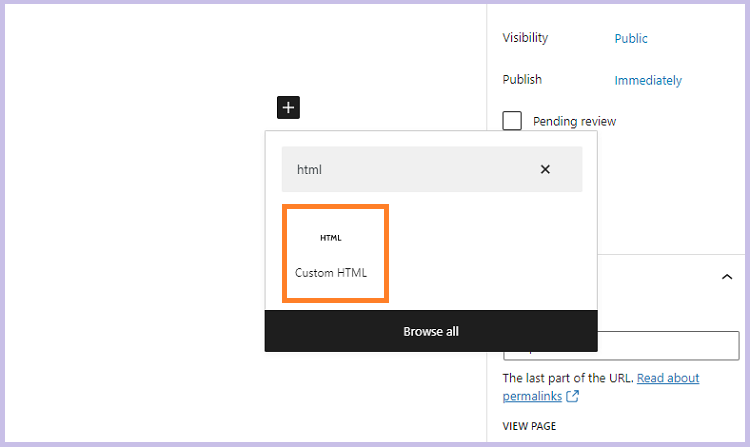
Now, you can simply paste the embed code you copied from Google Maps. To see how your map will appear, click preview on the HTML block and wait a few seconds for the map to be loaded.
And that’s it! You have implemented responsive Google Maps on your page.
Using Plugin:
If you want to add Google Maps to your site with more detailed functionality like custom location markers or other annotations then you should use a plugin. There are lots of plugins available there such as MapPress Maps for WordPress, Responsive Styled Google Maps, CP Google Maps, 5sec Google Maps, WP Google Maps, etc. But in this section, we use the MaPress Maps for WordPress plugin.
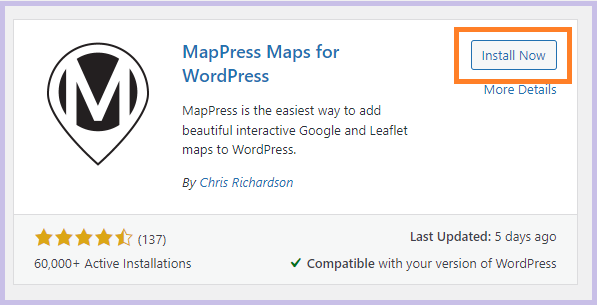
First, Install and Activate MapPress Maps for the WordPress plugin.
After installation, go to “MapPress > Settings” where you will get different sections for setting and styling your map. Scroll down to “Basic Settings” and insert your Google API Key then press the “Save” button. If you haven’t created and added an API Key for Google Maps yet, you can easily generate a free API key from Google Cloud Console. Learn how to do so here.
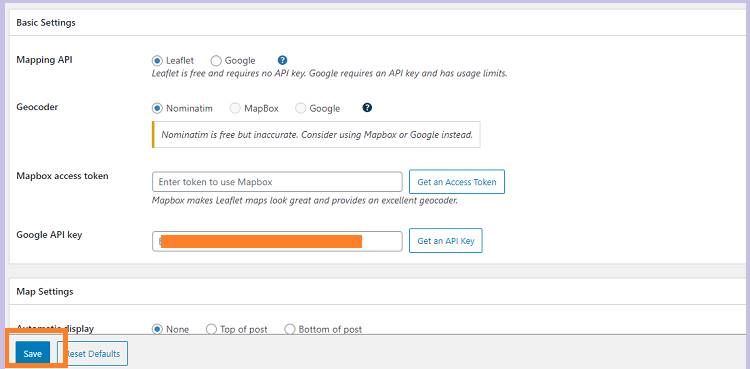
If you don’t want to use the API Key then you can use the Mapbox access token. To get the token, click on the “Get an Access Token” and follow the following procedure.
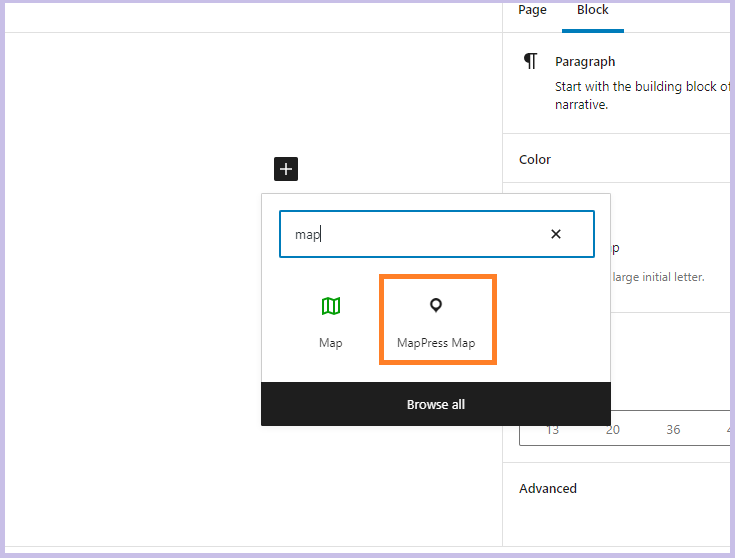
Now, go to the page or post where you want to add the Google Maps and click the plus (+) icon to add a new WordPress block. From there, search for the “MapPress Map” block and click it to add the map to your post.
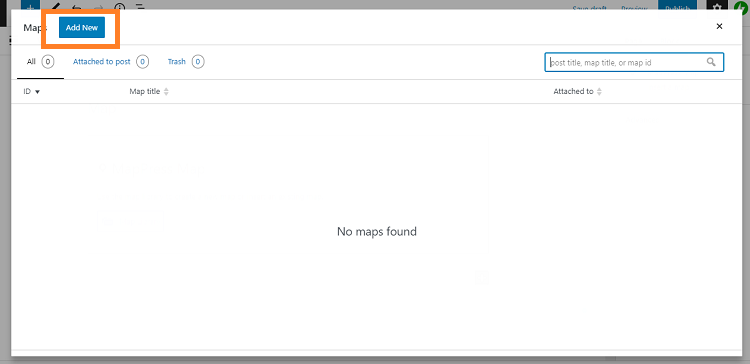
Next, click the “Map Library” button, and on the following screen, select “Add New”.
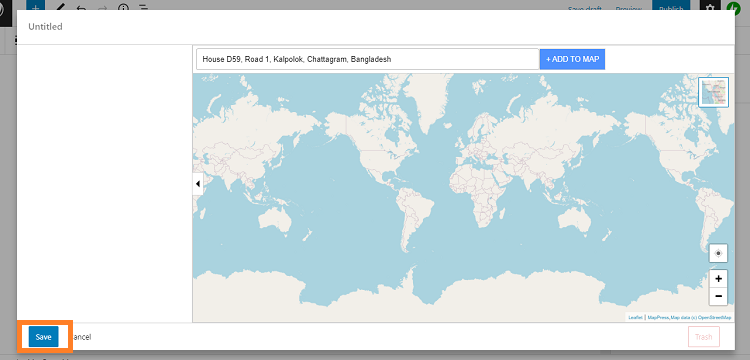
After that, add a title for the map and type your preferred map location into the search bar and click “Save”.
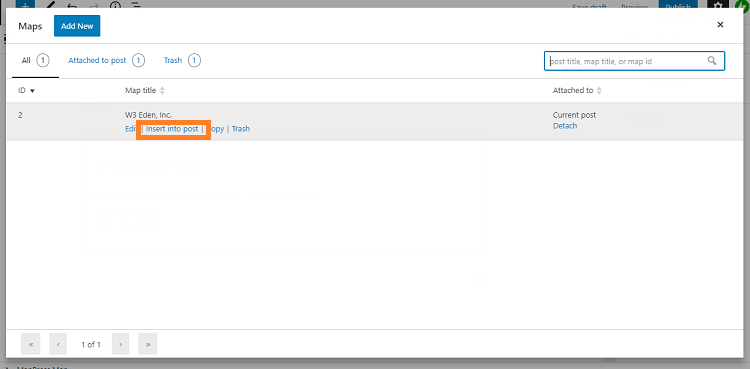
On the next screen, you will see the list of maps you have added. Since you added only one map, you will only see that map now. Click on the “Insert into Post” below the map to add your map to your WordPress post.
You can now use the Map Settings panel on the right-hand side to alter the size and zoom of your Google map.

Lastly, click on the “Preview” button to see how your map looks then press the “Publish” button to save.
How to Add Google Maps on the Sidebar or Footer:
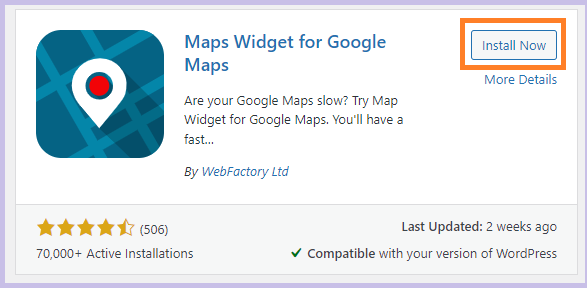
Widgets in WordPress are modules that can be placed in specific areas like the sidebar and footer. If you lack space on your website this method can be ideal since you can fit widgets almost anywhere. Moreover, you can create multiple locations on a map with widgets. There are several map widget plugins for adding your map to the sidebar or footer area. In this guide, we will be using the Maps Widget for Google Maps plugin. Using this plugin you can add thumbnail-sized maps to your WordPress sidebar or footers, which visitors can expand with a click.
To get started, Install and Activate the Maps Widget for the Google Maps plugin.
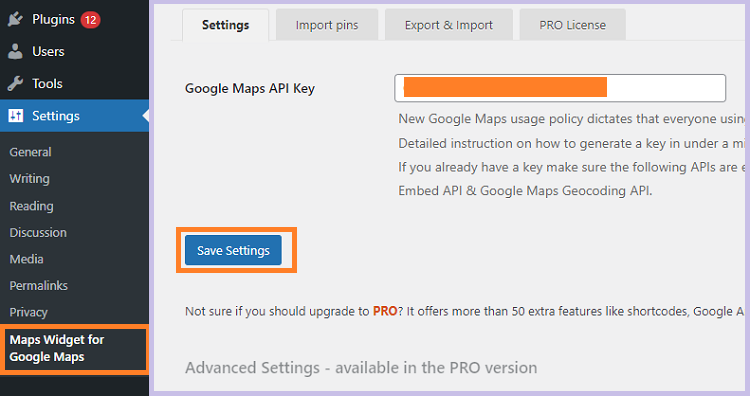
After activation, it will create the “Maps Widget for Google Maps” menu under the “Settings” menu. Navigate to that menu, here you will see four tabs, under the Setting tab there is a textbox for Google Maps API Key. Insert Google Maps API Key and click “Save Settings”.
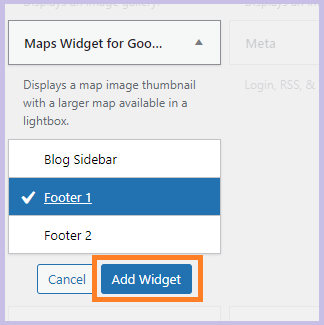
Next, go to “Appearance > Widgets” in your WordPress dashboard and locate the “Maps Widget for Google Maps” item. Then click on the arrow icon, select the area you want to add this widget to your website and click on the “Add Widget” button. You can also do that by simply dragging the widget to the section you want to add this widget.
Now, you can customize things like map size, pin color and type, image format, and even link type.
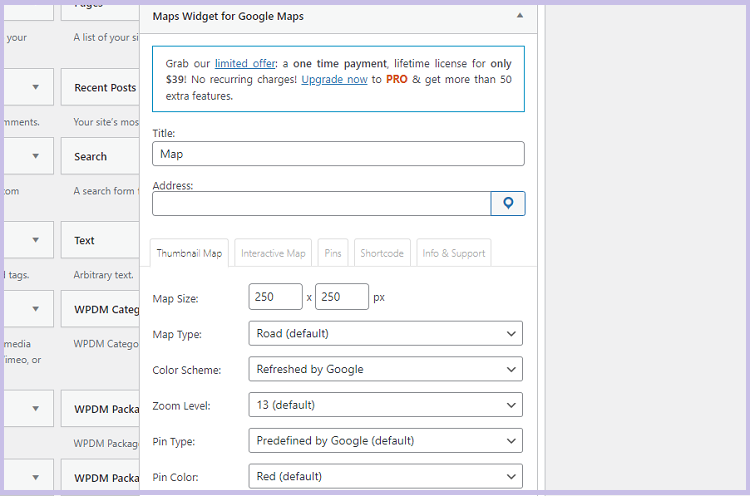
Once you are done, click on the Save button.
Conclusion:
It’s always better to show than tell. So showing your Google Maps address to your WordPress website is much more compelling and interactive than listing it. We have mentioned three methods of adding Google Maps to your WordPress Website. No matter which method you choose, it will have an equal performance impact on your WordPress website. So, choose your preferred one. Feel free to ask us in the comments section below!
To get more articles like this, check our Blog post section. Also, subscribe to our YouTube channel and follow our Facebook page to encourage us more.